Simplifying server-side configuration and deployment workflows — because efficiency doesn’t have to be complicated.
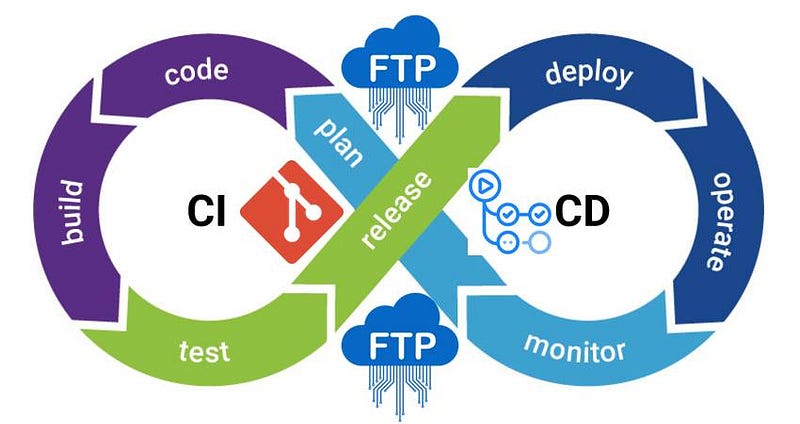
So today, I cleaned up the repo (hosted on GitHub) for one of our recent projects at 3d7 Tech (opens in a new tab) by actioning existing PRs and deleting stale/unnecessary branches. It’s a multi-tenant application built with Laravel and requires a lot of server-side configurations for a full deployment, something I love (and hate). We have a VPS and as much as I love to ssh from time to time, I also love the ease that comes with server management via a UI like cPanel.
I had always maintained separate repos for staging (or testing) and production, basically because I wanted that extra level of human effort to deploy to production. I had implemented CI/CD on both repos such that whenever each’s master branch receives a push action, the code is automatically deployed to their respective server via FTP. This went on for months and the project received more and more development efforts as the team grew and It became difficult to manage both repos.
So I cleaned up to make a protected branch in the primary repo and only merged into it from master after a developed branch has passed QA and been merged into it. The protected branch now serves as the production branch while the master branch serves as staging.
Explained all these to the team and my product owner goes “We can’t start thinking of CI-CD?” I was dumb-founded for a second and asked him to explain what he understood by the concept of CI-CD, and he goes “One pipeline…you build local and deploy, if nothing breaks, it’s accepted, if something breaks, it’s rejected…my knowledge is all AWS based and might have not been scalable”.
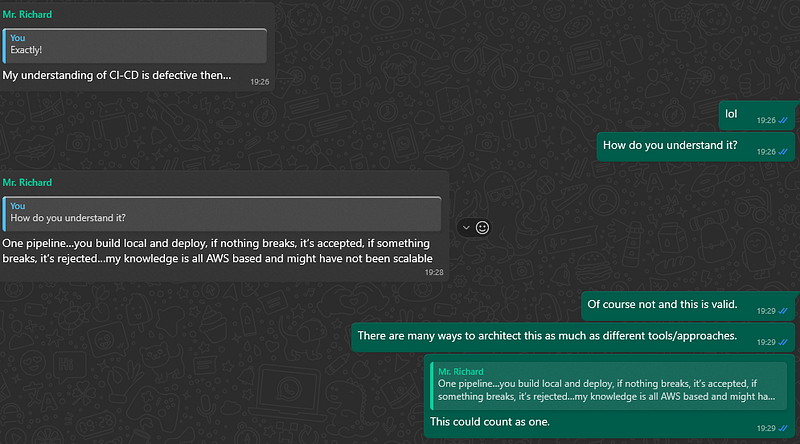
A chat with my Product owner
It then occured to me that while my approach might be efficient, it may not be common and so I thought to share this knowledge.
Continuous Integration (CI) is a development practice where developers regularly integrate their code changes into a shared repository. This practice involves building and testing the software.
The Shared repo could be hosted on GitHub, Bitbucket, or GitLab. The primary goal is to detect and fix integration issues early in the development process.
Continuous Deployment (CD) extends CI by automatically deploying code changes to a REMOTE environment after passing through the CI pipeline. This practice involves automation of some sort.
The remote environment could be Production or Staging for UAT. The primary goal is to deliver new features or fixes to end-users as quickly as possible.
In essence, CI/CD (Continuous Integration/Continuous Deployment) stands as a cornerstone in modern software development, revolutionizing the way teams build, test, and deploy code. By automating these crucial processes, CI/CD not only accelerates development cycles but also elevates the quality of code and reliability of deployments. Its significance in today’s software landscape cannot be overemphasized, shaping the way teams deliver value to users with efficiency and confidence.
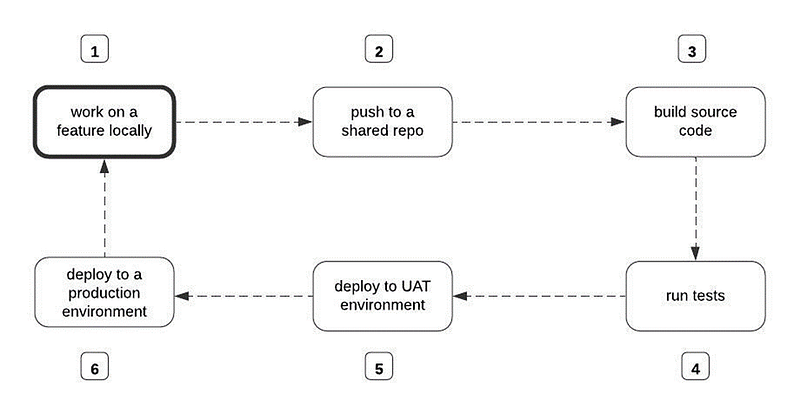
The CI/CD process
To achieve FTP-based CI/CD with cPanel, FTP, and GitHub actions follow these steps carefully.
Setup FTP account via cPanel
To configure an FTP client on cPanel, follow the steps below:
-
Log in to your cPanel account.
-
Scroll down to the Files section and click
FTP Accounts(or just search for it). -
Fill the form to
Add an FTP Accountproviding a validusernameandpassword. Also, depending on your app, choose the directory that the FTP account will have access to. This is where your codes will be shipped from the repo. For example:public_htmlif you want to deploy to the www directory. -
Keep these details handy as we’d need it in the next step.
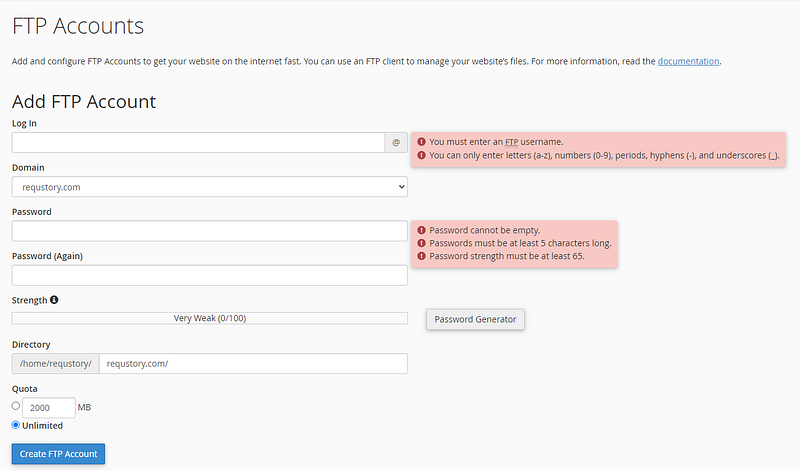
Screen to Add new FTP Accounts
Establish communication between your repo and server with GitHub repository secrets
To establish communication between your repo and server via FTP, follow the steps below:
-
Go to your GitHub repository and click on
Settings. -
Click on
Secrets and variableson left sidebar. -
Click on
Actions. -
Click on
New repository secret. -
Enter a name for the secret, such as
FTP_USER_STAGING. In the Value field, enter your FTP credentials. -
Click on
Add secretto save the secret.
Following the steps above, create
FTP_SERVER_SECRETandFTP_PASSWORDsecret variables with the appropriate values. You may also add the credentials for as many servers you want to deploy to. In may case, I’d set up for staging and production severs.
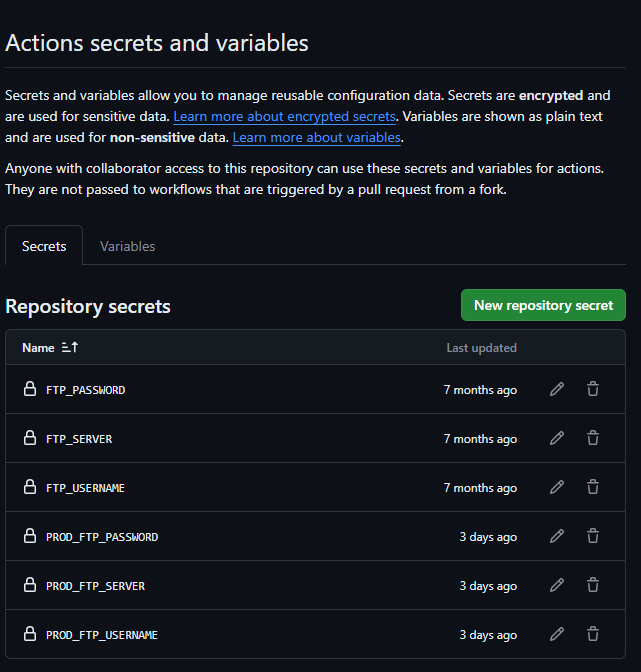
GitHub Actions secrets
Setup GitHub actions and workflows in the repository
This is where the magic happens. In this step, we will write a github workflow(s) to deploy to our server(s). This workflow will be triggered by github actions. These steps will get us all set.
-
Go to your GitHub repository and click on
Actions. -
On the left pane, click on
New workflow. -
Click
Skip this and set up a workflow yourself. -
Copy and paste the script below
name: 🚀 Deploy Changes to cPanel
on:
push:
branches:
- master
jobs:
FTP-Deploy-Action:
name: FTP-Deploy-Action
runs-on: ubuntu-latest
steps:
- uses: actions/checkout@v2.1.0
with:
fetch-depth: 2
- name: FTP-Deploy-Action
uses: SamKirkland/FTP-Deploy-Action@4.3.3
with:
server: ${{ secrets.FTP_SERVER }}
username: ${{ secrets.FTP_USERNAME }}
password: ${{ secrets.FTP_PASSWORD }}-
Save and commit.
-
This creates the folder
workflowswithin the.gitfolder in your repo.
Note: You may create as many workflows for as many FTP accounts you have set up. If you have a branch for production called
Productionall you ned to do is tweak the script above and replacemasterwithproduction. Also feel free to update the server, username and password parameters with the names you had given them when you created the secrets.
Perform push actions onto desired branch
Lastly, To deploy the codes from the master or desired branch of your repo to the remote server, you need to perform a push action. This can either be through a merge or you may use the git push command. Here are the basic steps:
git add .
git commit -m "Your commit message"
git push origin
This process will send your chosen local branch to the remote repository and synchronize the main branch on the remote repository with your modifications. Visit your application or website, and you’ll notice the new code in place, automatically updating the site. Going forward, every time you push changes to the main branch, the website will refresh automatically.